Capturing the perfect portrait is an art form, but sometimes, despite our best efforts, skin tones can appear unnatural or unflattering in our photographs. Luckily, Adobe Lightroom offers powerful tools and techniques to correct these issues and achieve natural-looking skin tones. In this comprehensive guide, we’ll walk you through the step-by-step process for fixing orange skin tones in Lightroom. Additionally, we’ll introduce you to Deerpreset’s Mood Pink and Vintage Styles Presets Collections, which can further enhance your portraits with their unique aesthetic touches.

Step 1: Import Your Image into Lightroom
- Begin by importing your photograph into Adobe Lightroom. Navigate to the Library module, select the folder containing your image, and import it into your Lightroom catalog.
Step 2: Assess the Skin Tone
- Zoom in on the subject’s face to get a closer look at the skin tones. Pay attention to areas where the skin appears orange or discolored. Take note of any specific areas that require adjustment.
Step 3: Adjust White Balance
- Start by adjusting the white balance to correct any color casts affecting the skin tones. In the Develop module, locate the White Balance sliders and experiment with different settings until the skin tones appear more natural and neutral. Use the eyedropper tool to sample a neutral gray area if needed.
Step 4: Fine-Tune Temperature and Tint
- Refine the temperature and tint sliders further to fine-tune the skin tones. Make subtle adjustments until you achieve the desired balance between warmth and neutrality. Be cautious not to overcorrect, as this can result in unnatural-looking skin tones.
Step 5: Utilize the HSL Panel
- Navigate to the HSL (Hue, Saturation, Luminance) panel to make targeted adjustments to specific colors within the image. Focus on the orange and red hues that contribute to the skin tones. Adjust the Hue, Saturation, and Luminance sliders to refine the appearance of the skin tones while maintaining overall image balance.
Step 6: Soften Skin Texture
- If necessary, use Lightroom’s adjustment brushes or the Healing Brush tool to soften any skin texture imperfections. Be careful not to overdo it, as excessive smoothing can result in an artificial appearance. Aim for a subtle and natural-looking effect.
Step 7: Apply Deerpreset Mood Pink Presets Collection

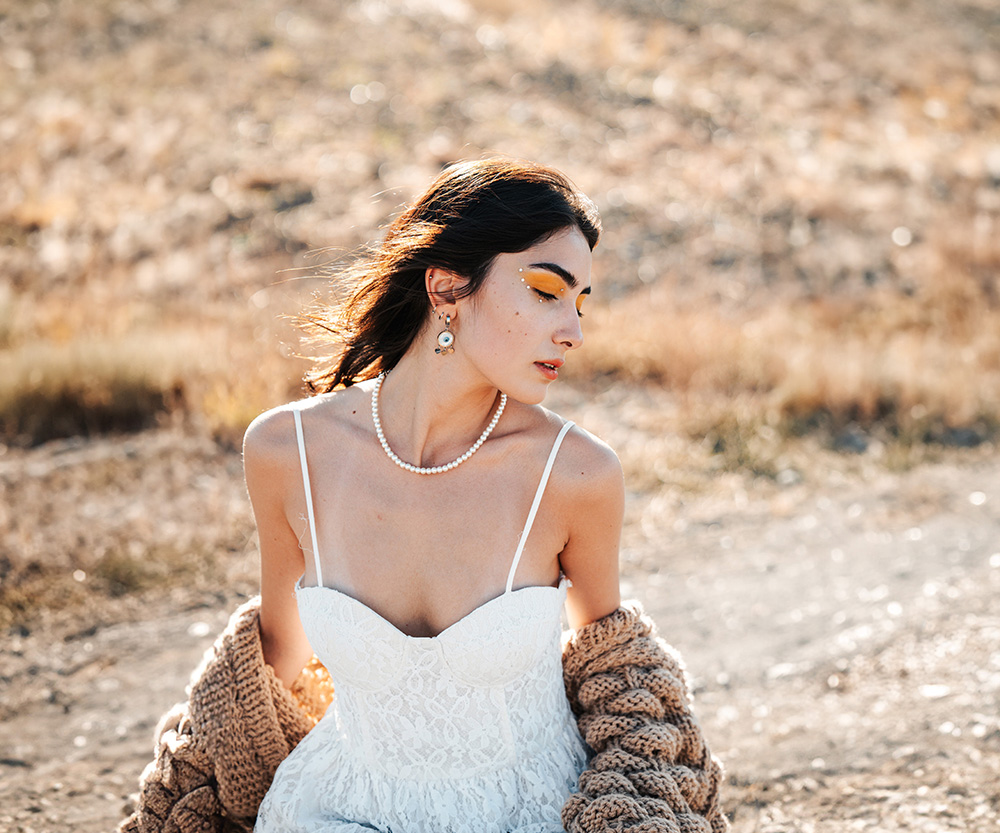
- Enhance the overall mood and aesthetic of your portrait by applying presets from Deerpreset’s Mood Pink collection. These presets offer a range of artistic effects, including soft pastels and dreamy tones, which can complement and enhance your corrected skin tones.
Step 8: Fine-Tune with Deerpreset Vintage Styles Presets Collection

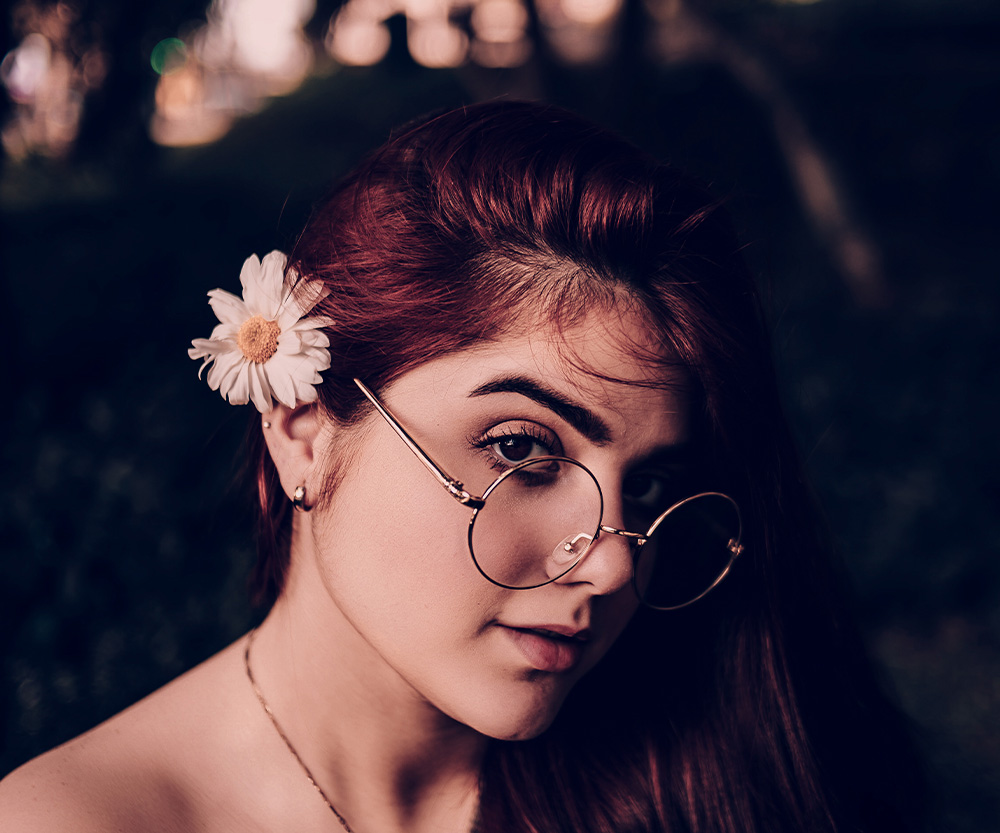
- For a nostalgic or vintage-inspired look, explore Deerpreset’s Vintage Styles presets collection. These presets add character and depth to your portraits, with warm tones and subtle film-like effects that can further enhance the natural beauty of your subject’s skin tones.
Step 9: Refine Overall Image Balance
- Take a step back and evaluate the overall image balance and composition. Make any final adjustments to exposure, contrast, and other parameters to ensure that the corrected skin tones harmonize with the rest of the photograph.
Step 10: Export Your Final Image
- Once you’re satisfied with the adjustments and enhancements, export your final image from Lightroom. Choose the appropriate file format, resolution, and quality settings for your intended use, whether it’s printing, sharing online, or further editing in other applications.
sum up:
Correcting orange skin tones in Lightroom is a straightforward process that can dramatically improve the overall quality of your portraits. By following these step-by-step instructions and leveraging the power of Deerpreset’s Mood Pink and Vintage Styles Presets Collections, you can achieve natural-looking skin tones and enhance the mood and aesthetic of your photographs with ease. With practice and experimentation, you’ll master the art of skin tone correction in Lightroom and elevate your portrait photography to new heights.

