Adobe Lightroom and Photoshop are two of the most powerful tools available for photographers and digital artists. Lightroom is ideal for managing and editing photos quickly and efficiently, while Photoshop provides advanced features for detailed photo manipulation. One of the features that enhance both tools is the use of presets. Presets in Lightroom are pre-configured settings that allow you to apply a particular style or look to your photos with just one click. Sometimes, you might want to use these presets in Photoshop to maintain a consistent style across different projects. This guide will walk you through the steps for importing Lightroom presets into Photoshop.

Understanding Presets
Before diving into the steps, it’s essential to understand what presets are. Presets are collections of settings that control various aspects of a photo, such as exposure, contrast, color balance, and more. Using presets can save a significant amount of time in photo editing and ensure consistency across a batch of photos.
What You’ll Need
To import Lightroom presets into Photoshop, you’ll need:
- Adobe Lightroom
- Adobe Photoshop
- Lightroom presets (such as the Deerpreset Warm Embrace Presets Collection)
The Deerpreset Warm Embrace Presets Collection includes:
- 10 Warm Embrace Presets
- File Types: XMP, DNG, CUBE
- Supported Formats: JPG, DNG, RAW
- File Size: 27.9 MB
- Delivery: Direct Digital Download
Step-by-Step Guide
Step 1: Download and Install Lightroom Presets
- Purchase and Download Presets: After purchasing the Deerpreset Warm Embrace Presets Collection or any other presets, download the files to your computer. They are usually delivered in a compressed (ZIP) format.
- Unzip the Files: Extract the contents of the ZIP file to a folder on your computer. You should see files with extensions like .XMP, .DNG, and .CUBE.

Step 2: Import Presets into Lightroom
- Open Lightroom: Launch Adobe Lightroom on your computer.
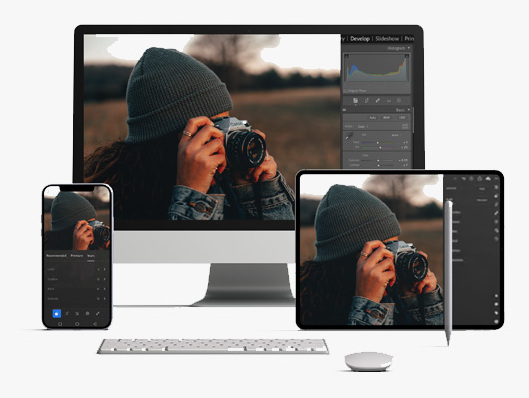
- Navigate to the Develop Module: Click on the ‘Develop’ module from the top menu.
- Locate the Presets Panel: On the left side of the screen, find the ‘Presets’ panel.
- Import Presets:
- Click on the ‘+’ icon in the Presets panel.
- Select ‘Import Presets’ from the dropdown menu.
- Navigate to the folder where you extracted the Deerpreset Warm Embrace Presets.
- Select the .XMP files and click ‘Import’.
- Verify Presets: The imported presets will now appear in the Presets panel under the ‘User Presets’ or a specific folder name like ‘Deerpreset Warm Embrace’.
Step 3: Apply Presets in Lightroom
- Select a Photo: Choose a photo in the Library module that you want to edit.
- Apply a Preset: Switch to the Develop module and click on one of the imported Deerpreset Warm Embrace Presets. The preset settings will be applied to the photo instantly.
Step 4: Export the Edited Photo
- Export Photo:
- After applying the preset and making any additional adjustments, click ‘File’ > ‘Export’.
- Choose the export settings. Ensure the format is compatible with Photoshop, such as JPEG or TIFF.
- Click ‘Export’ to save the photo to your computer.
Step 5: Open the Photo in Photoshop
- Launch Photoshop: Open Adobe Photoshop.
- Open the Exported Photo:
- Click ‘File’ > ‘Open’.
- Navigate to the folder where you exported the photo from Lightroom.
- Select the photo and click ‘Open’.
Step 6: Import Presets into Photoshop (For Camera Raw Filter)
Photoshop uses Adobe Camera Raw (ACR) for applying presets. Here’s how to import and use Lightroom presets within ACR:
- Open Adobe Camera Raw:
- With your photo open in Photoshop, go to ‘Filter’ > ‘Camera Raw Filter’ (this will open the ACR window).
- Import Presets into ACR:
- In the ACR window, click on the ‘Presets’ icon on the right panel.
- Click the ‘…’ menu icon at the top right of the Presets panel and select ‘Import Profiles & Presets’.
- Navigate to the folder containing your Deerpreset Warm Embrace Presets.
- Select the .XMP files and click ‘Import’.
- Apply Presets in ACR:
- The imported presets will now appear in the Presets panel of ACR.
- Click on the desired preset to apply it to your photo.
- Finalize and Save:
- Make any additional adjustments if needed.
- Click ‘OK’ to apply the changes and return to Photoshop.
Tips for Using Presets Effectively
- Experiment with Presets: While presets can significantly enhance your workflow, don’t hesitate to make additional tweaks to fit your unique style.
- Organize Presets: Keep your presets organized in folders within Lightroom and ACR for easy access.
- Use Presets as a Starting Point: Think of presets as a foundation. Use them to get the basic look you want and then fine-tune your photo from there.
Benefits of Using Deerpreset Warm Embrace Presets
The Deerpreset Warm Embrace Presets Collection offers several advantages:
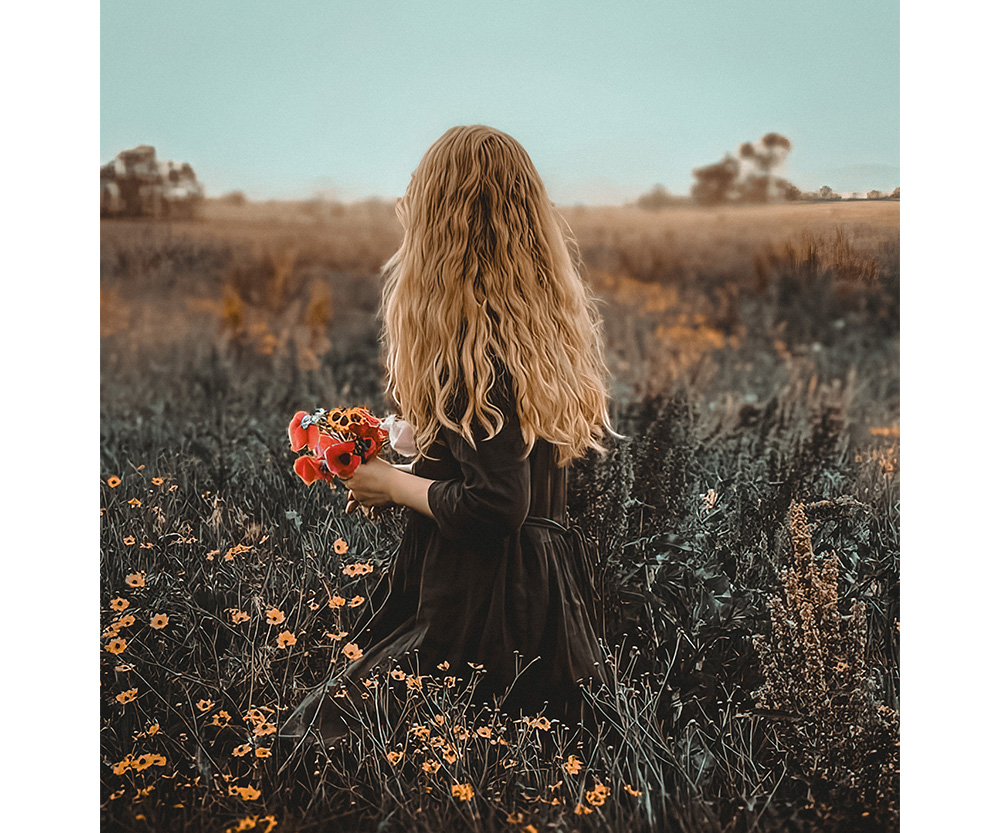
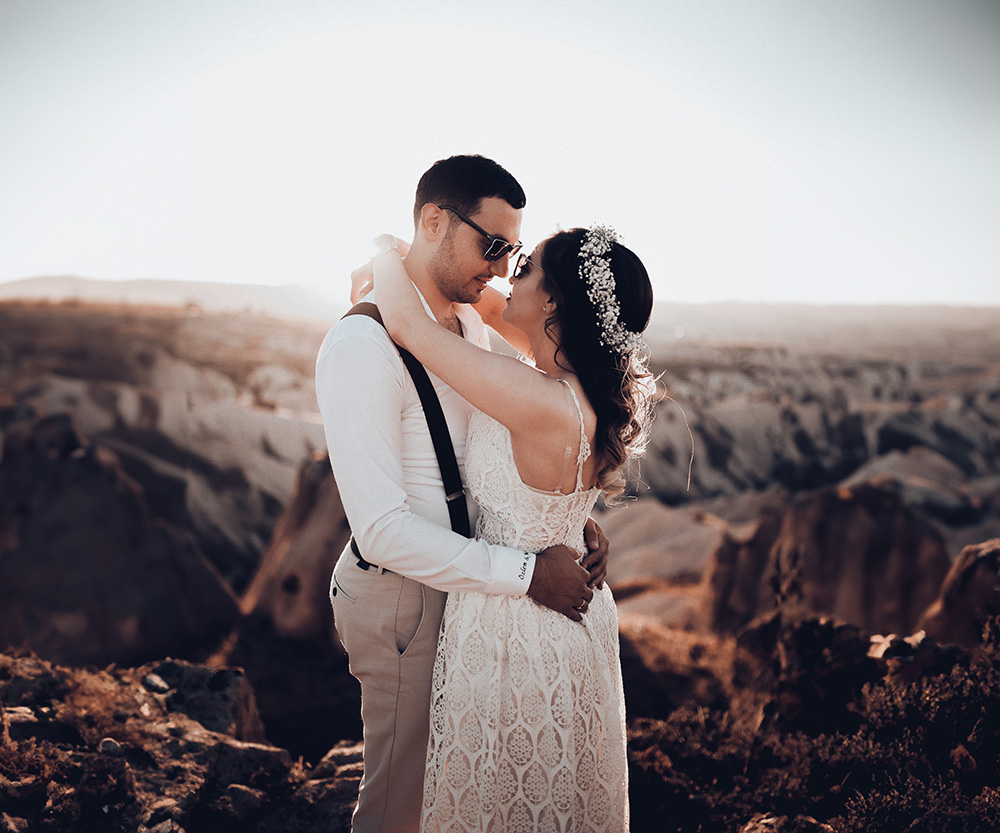
- Consistency: Ensures a consistent warm tone across all your photos, creating a cohesive look.
- Efficiency: Speeds up your editing process, allowing you to apply a specific style quickly.
- Versatility: Supports various file formats (JPG, DNG, RAW) and includes different file types (XMP, DNG, CUBE) for flexibility in use.
sum up
Importing Lightroom presets into Photoshop can seem daunting at first, but it’s a straightforward process that can greatly enhance your editing workflow. By following these steps, you can easily transfer your favorite Lightroom presets, like the Deerpreset Warm Embrace Presets Collection, into Photoshop’s Camera Raw Filter, ensuring you have the tools needed to create stunning, consistent images.
Whether you’re a professional photographer or a hobbyist, leveraging presets can save you time and help you maintain a uniform aesthetic across your work. Take advantage of the powerful features offered by both Lightroom and Photoshop to elevate your photo editing to the next level.

